
Create a nicely looking html listing of selected directory from a cd containing graphics.
First, you must choose which directories you want to list by selecting apropriate check boxes. Make sure the Select with subdirectories option is selected if you want to list the directory of your choice recursively.
Choose which columns you want to see in the listing by selecting apropriate options on the Displayed columns tab.
Switch to Output type tab and choose HTML file in Output file type group. Adjust the colors and fonts of all html elements in the HTML options group. Also you can change the order of the columns in the output and their alignment.
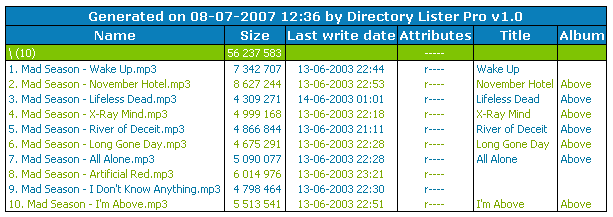
If Automatically refresh preview option is selected, you should immediately see how the listing will look like when saved or printed. If you are not satisfied with the result, experiment with the columns and html colours.
Save the listing by clicking on the Save listing... button on toolbar or copy it to the clipboard by clicking on the Copy button.

Generate a text listing of mp3 files from folders selected in Windows Explorer.
Create or customize one of the default configuration file which you want to use for listing generation. To do this, launch Directory Lister Pro and save configuration in the application folder.
Launch Windows Explorer and select the directories you wish to generate listing for. Then right click one of the selected directories and choose Generate listing using option from the context menu. Submenu will appear from which select the configuration file you created in Step 1.
Enter the file name of the listing in the Save as dialog box which will appear after you choose your configuration file.